How to Build a Bioactive Crested Gecko Vivarium, Step by Step
Heads up: Terrarium Tested is reader-supported, and we may earn a commission if you buy through links on this page, at no extra cost to you. As an Amazon Associate I earn from qualifying purchases. Read our affiliate disclosure.
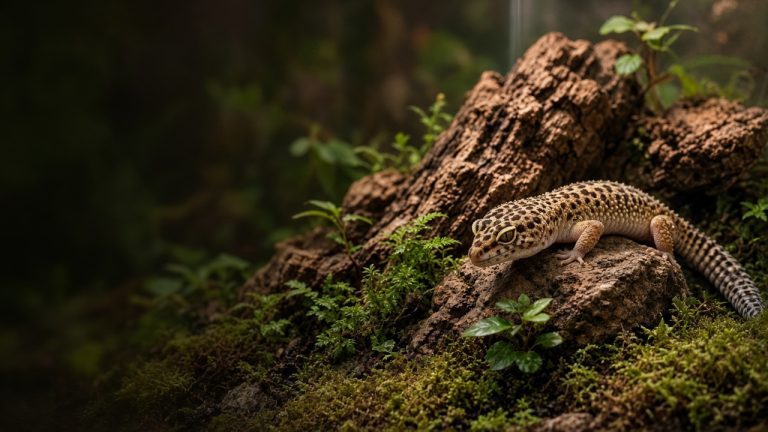
Learning how to build a bioactive crested gecko vivarium is one of the most rewarding projects in the hobby. Instead of swapping paper towels, you build a small working ecosystem: live plants, a drainage layer, soil, leaf litter, and a clean-up crew of isopods and springtails that break down waste. Done right, it looks amazing and needs less deep cleaning than a sterile setup.
Where this comes from: this guide follows widely used bioactive methods from the vivarium hobby and current crested gecko care guidance. Products are mentioned as common examples, not as items we’ve tested.
What “bioactive” actually means
A bioactive enclosure is a self-cleaning system. Gecko waste and leftover food get eaten by tiny invertebrates (the clean-up crew), broken down by fungi and bacteria, and turned into nutrients for live plants. You still spot-clean, but you rarely tear the whole thing down.
Crested geckos are a great species for bioactive because they like moderate temperatures and humidity, which is exactly what tropical plants and isopods like too.
What you’ll need
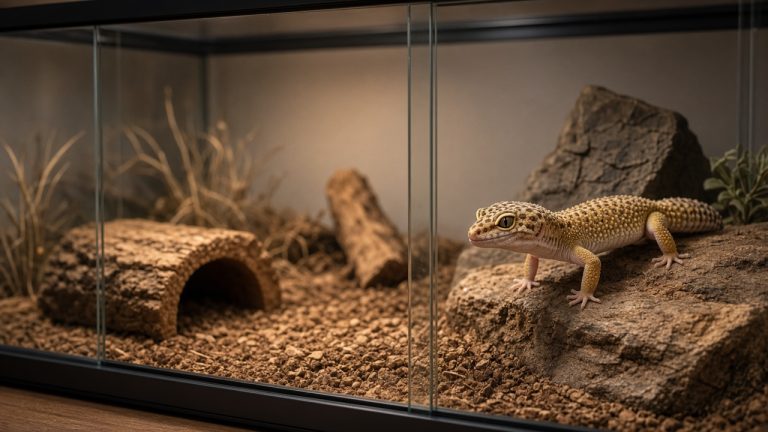
- A tall front-opening enclosure, at least 18″ x 18″ x 36″, which is ReptiFiles’ current minimum for geckos over about 12 grams (taller is better). See our crested gecko enclosure guide.
- Drainage layer: LECA (clay balls), hydroballs or lava rock
- Substrate barrier: fine mesh screen
- Bioactive substrate: a tropical mix such as ABG mix or a commercial blend like Pangea Reptile ABG Mix, Josh’s Frogs Tropical BioBedding or The Bio Dude Terra Fauna kit
- Leaf litter: oak or magnolia leaves
- Clean-up crew: springtails and a tropical isopod species like dwarf white or powder orange isopods
- Live plants (see below)
- Cork bark, branches, vines
- Plant lighting: an LED grow light or plant-friendly bar
- Low-output UVB (optional but increasingly recommended), such as the 12″ Arcadia ShadeDweller ProT5 (7%), aiming for a UV index of 1.0-2.0 at the basking branch
- A low-wattage heat bulb (ReptiFiles suggests starting around 25 watts) in a dome or hood, on a dimmer or thermostat
- Thermometer and hygrometer
- Spray bottle or misting system
Step-by-step build
Step 1: Prep and clean the enclosure
Wipe it down with a reptile-safe disinfectant and rinse. If it’s PVC, seal any seams you’re worried about with aquarium-safe silicone and let it cure fully.
Step 2: Add a background (optional)
Cork tiles or a foam background add climbing surface and help plants root. Attach with aquarium silicone.
Step 3: Drainage layer
Add 1-2 inches of LECA or similar. This catches excess water so the soil doesn’t stay soggy and go anaerobic (sour and smelly).
Step 4: Barrier
Lay a fine mesh screen over the drainage layer, cut to fit. It stops soil from washing down into the drainage.
Step 5: Substrate
Add 3-4 inches of bioactive substrate. Moisten it so it’s damp like a wrung-out sponge, not dripping. Slope it slightly higher at the back for a natural look.
Step 6: Hardscape
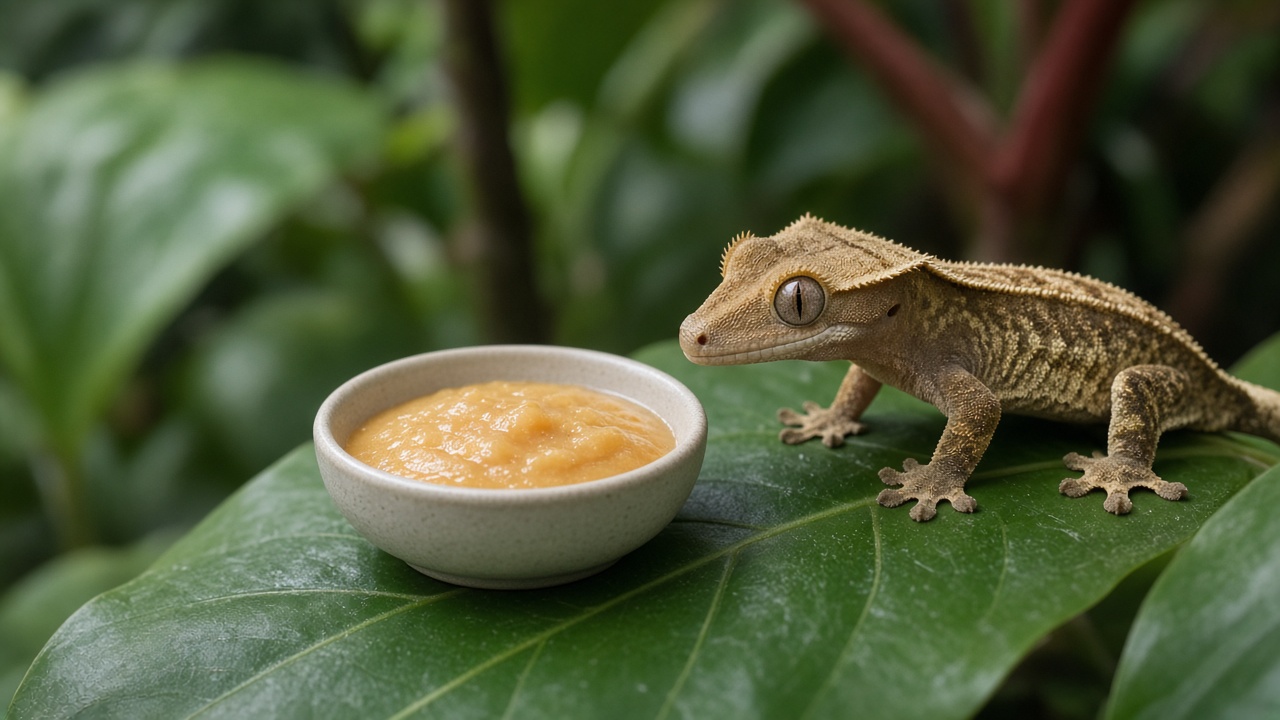
Place cork bark, branches and vines. Make diagonal and vertical climbing routes, plus horizontal perches near the top where your gecko can rest. Add a feeding ledge up high for their powdered food. Our crested gecko food guide covers what goes in that dish.
Step 7: Plants
Rinse plants to remove potting soil and perlite, and check for pests and fertilizer pellets. Plant them directly in the substrate or mount epiphytes on wood. Good, gecko-safe, hardy options include:
- Pothos (Epipremnum aureum): nearly indestructible
- Dracaena species
- Bromeliads (Neoregelia types)
- Ficus pumila (creeping fig)
- Peperomia
- Snake plant (Sansevieria) for sturdy cover
Crested geckos are heavy for their size, so pick plants with strong leaves. Fragile plants will get flattened.
Step 8: Leaf litter
Spread a layer of dried leaves on top. This gives your clean-up crew food and cover, and holds moisture.
Step 9: Lighting
Plants need real light. A plant LED on a 12-hour timer is the usual approach. Add low-level UVB if you’re using it. Watch the temperature: grow lights add heat, and the warmest spot at the top should stay around 82-85°F, not higher.
Step 10: Add the clean-up crew
Introduce springtails and isopods. Scatter some under the leaf litter and bark. Feed them a little fish flake or isopod food at first.
Step 11: Let it cycle
Wait 2-4 weeks before adding your gecko. This lets plants root, the clean-up crew settle and multiply, and you can fine-tune humidity and temperature.
Target conditions
| Parameter | Target |
|---|---|
| Basking area (top) | 82-85°F |
| Lower enclosure | 70-75°F |
| Night temperature | 65-72°F |
| Max | Avoid sustained temps above 85°F |
| Humidity | 60-80%, drying to about 50% before the next misting |
Mist once or twice a day, more in dry homes. The enclosure should dry out a bit between mistings. Constant wetness invites mold and respiratory issues.
Ongoing maintenance
- Spot-clean visible poop on glass and leaves
- Remove uneaten food after 24-36 hours
- Top up leaf litter every few months
- Trim plants as they grow
- Check that springtails and isopods are thriving; add more if numbers drop
- Replace UVB per the manufacturer’s schedule
Troubleshooting
Mold
A little white mold in the first weeks is normal; springtails usually eat it. If it persists, improve ventilation and mist less.
Plants dying
Usually not enough light, too much water, or a heavy gecko trampling them. Swap in tougher plants.
Clean-up crew disappearing
Often the substrate is too dry or there’s not enough leaf litter. Keep a damp corner and add food.
Bugs escaping
Springtails sometimes find their way out. It’s harmless, but check door gaps and seals.
Is bioactive worth it?
For crested geckos, we think so. It takes more effort upfront, but you end up with a more natural, enriching home. If you’d rather start simpler, a non-bioactive setup with paper towels and artificial plants is fine for a few months while you plan. A tall PVC enclosure from our PVC enclosure guide also makes humidity easier to manage.
Picking the right clean-up crew
Springtails are tiny and work best on mold and fine waste. Isopods handle bigger waste, leftover food and dead leaves. Using both covers more ground. Pick a tropical, moisture-loving isopod species, since desert species won’t do well in a crested gecko’s humidity.
Choosing a heat and light layout for a planted build
In a planted vivarium the top of the enclosure gets crowded, so plan it before you start. A common layout is a plant LED bar across the front of the screen, the ShadeDweller toward the back, and a low-wattage heat bulb in a small dome over one corner. Put a sturdy branch about 6-9 inches below the heat bulb as the basking perch. Check that perch with a temp gun before you add the gecko, aiming for 82-85°F, with the lower half of the enclosure at 70-75°F. Most plant LEDs barely warm the enclosure, but the heat bulb will, so your thermostat or dimmer probe should sit at the basking branch.
FAQ
How long should a bioactive vivarium cycle before adding a crested gecko?
Two to four weeks is common, so plants can root and the clean-up crew can establish.
Do I need a drainage layer?
It’s strongly recommended. It prevents waterlogged, sour soil.
What isopods are best for crested geckos?
Small tropical species like dwarf white or powder orange isopods are common choices, usually paired with springtails.
Will my crested gecko eat the clean-up crew?
Occasionally, but they’re small and multiply quickly, so it’s not usually a problem.
Can I use pothos in a crested gecko vivarium?
Yes. Pothos is one of the most popular and toughest choices.