Leopard Gecko Setup Checklist: Everything You Need
Heads up: Terrarium Tested is reader-supported, and we may earn a commission if you buy through links on this page, at no extra cost to you. As an Amazon Associate I earn from qualifying purchases. Read our affiliate disclosure.
This leopard gecko setup checklist covers everything you need before bringing your gecko home, and in what order to set it up. Most of the problems new keepers run into, like a gecko that won’t eat or has stuck shed, trace back to a missing piece of the setup. Get it right before the animal arrives and you’ll skip a lot of stress.
Where this comes from: current, widely referenced leopard gecko husbandry guidance and common keeper practice. We don’t list prices because they change too fast; instead we explain what each item does so you can budget sensibly.
Why most starter kits fall short
Starter kits look like a bargain, but many include a 10- or 20-gallon tank (too small for an adult), a heat rock, calcium sand, and a dial thermometer that can be way off. You often end up replacing most of it. Building your own setup from this list usually costs similar money in the long run and gets it right the first time.
The checklist
1. Enclosure
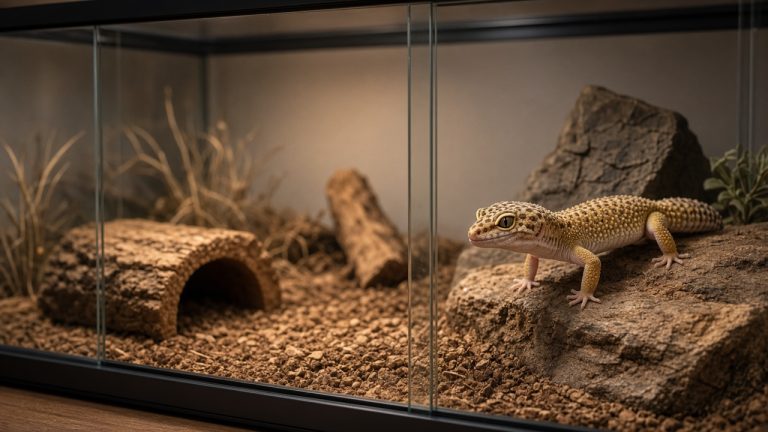
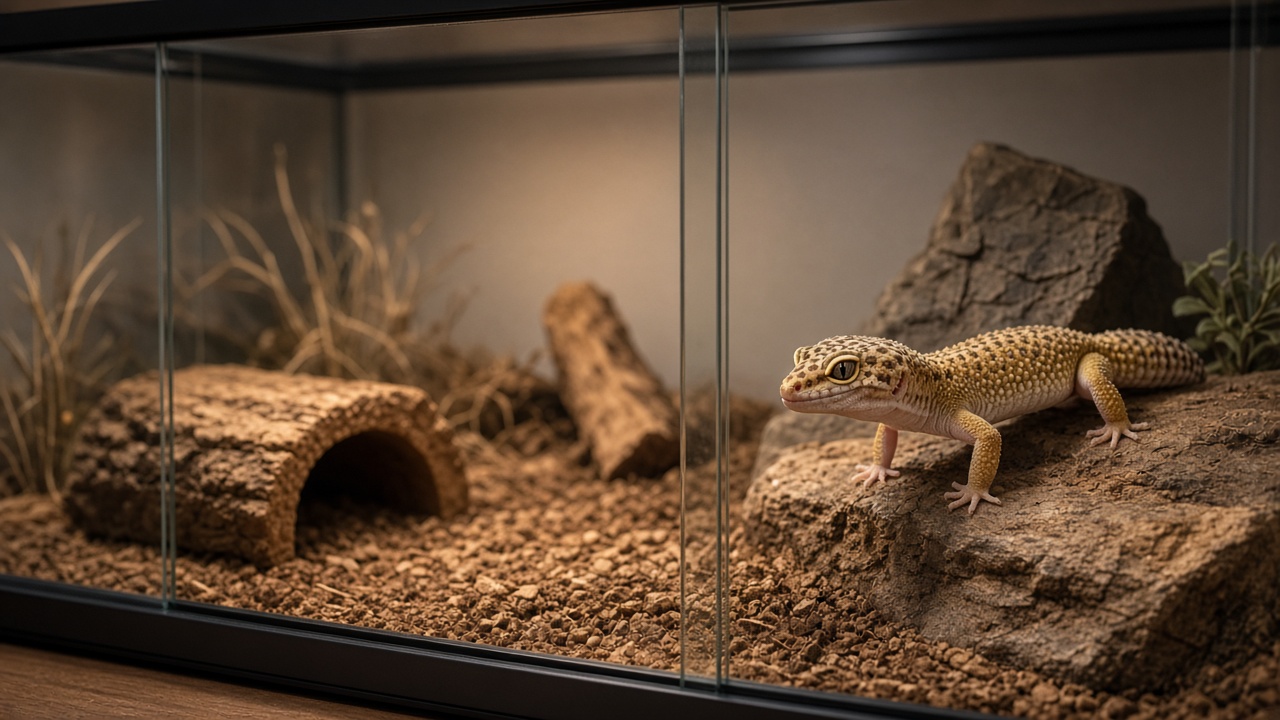
- At least 36″ x 18″ x 18″; 48″ x 24″ x 24″ recommended
- Front-opening glass or PVC with a secure top
See our best leopard gecko enclosure guide.
2. Heating
- A halogen or incandescent heat bulb in a deep dome with a ceramic socket (ReptiFiles’ preferred heat source)
- Optional ceramic heat emitter or deep heat projector for nights below about 60°F
- Optional heat mat under the warm hide
- A thermostat for every heat source (dimming for bulbs and deep heat projectors, on/off or pulse for heat mats)
Our thermostat guide explains which type to pick.
3. Lighting
- Low-level linear UVB, such as an Arcadia ShadeDweller ProT5 (7%) or ShadeDweller Max (2.5%)
- Reflector fixture
- Outlet timer
More detail in our UVB guide.
4. Measuring tools
- Infrared temperature gun
- Two digital probe thermometers (warm and cool side)
- Digital hygrometer
- Digital gram scale to track weight
5. Hides
- Warm hide
- Cool hide
- Humid hide lined with moistened substrate (skip sphagnum moss and shredded paper towel, which can be swallowed)
6. Substrate
- For adults: ReptiFiles’ semi-arid mix of 60% organic topsoil, 30% washed play sand and 10% excavator or bentonite clay, packed at least 4″ deep and fully dried before use. Ready-made options include The Bio Dude Terra Sahara and Josh’s Frogs Desert BioBedding
- For quarantine or babies: paper towels, or tile
7. Décor and enrichment
- Flat slate or stone under the basking lamp
- Cork bark, branches and low ledges
- Artificial or drought-tolerant live plants
- Background for privacy
8. Food and supplements
- Feeder insects: crickets, dubia roaches, black soldier fly larvae, mealworms (superworms and waxworms as occasional treats)
- Gut-load food for insects
- Calcium powder without D3 if you use UVB, or with D3 if you don’t, plus a reptile multivitamin used per your vet’s schedule
- Shallow water dish
9. Cleaning supplies
- Reptile-safe disinfectant such as F10SC or diluted chlorhexidine
- Paper towels, scoop, spray bottle for the humid hide
Setup order: step by step
- Place the enclosure on a sturdy stand away from windows, heater vents and AC.
- Install backgrounds and any heavy rocks first so they sit directly on the enclosure floor, not on top of substrate where a gecko could dig under them.
- Add substrate, at least 4 inches deep for digging, and let a moistened mix dry completely.
- Place hides: warm hide under or near the heat, cool hide at the other end, humid hide in the middle or warm side.
- Mount lighting and heat on one end. Put UVB next to the heat lamp.
- Connect thermostats and timers. Place probes at gecko level.
- Run it for 2-3 days, checking temps morning and night. Adjust until the basking surface is 94-97°F, the warm hide 90-92°F and the cool side 70-77°F. Full targets are in our temperature and humidity guide.
- Add clutter so there’s cover across the whole floor.
- Bring your gecko home and leave it alone for about a week, except for food and water.
What it costs, roughly
We’re not listing prices here because they vary by store and change often. As a rule, the enclosure is the biggest expense, followed by heating and UVB. Measuring tools and hides are cheap but essential. Plan for ongoing costs too: feeder insects, replacing T5 UVB tubes every 12 months, substrate changes and vet visits.
First week tips
- Offer a few insects every evening. Don’t worry if it skips meals for the first several days.
- Weigh your gecko once at the start, then weekly.
- Don’t handle until it’s eating regularly.
- Book a checkup with an exotics vet in the first month.
Common mistakes
- Skipping the humid hide
- Using heat without a thermostat
- Putting the basking lamp in the middle of the enclosure, killing the gradient
- Housing two geckos together
- Feeding insects that are too big (no larger than the space between the eyes)
Quarantine if you have other reptiles
If this isn’t your first reptile, set up a simple quarantine enclosure for the new gecko and keep it in a separate room for at least 30 to 90 days, depending on what your vet recommends. Use paper towels so you can check poop easily, and wash your hands between enclosures. It’s extra work, but it protects your other animals from parasites or illness the new gecko might carry.
Feeder insects: buy or breed?
Most new keepers buy insects from a local pet store or an online feeder supplier. Once you’re feeding a few geckos, breeding dubia roaches or mealworms can save time and keep a steady supply. Either way, gut-load insects for 24 hours before feeding with fresh greens or a commercial gut-load, and dust with calcium before offering them.
Daily, weekly and monthly routine
Once the setup is running, care is simple. Here’s a routine that covers everything:
- Daily: check temperatures on your probe thermometers, refresh water, spot-clean poop and urates, and keep the humid hide’s substrate moist.
- Feeding days: offer gut-loaded, dusted insects. Juveniles eat more often than adults; adult leos are typically fed a few times a week.
- Weekly: weigh your gecko, wipe the glass, and check the basking surface and warm hide with a temp gun.
- Monthly: deep-clean hides and dishes with a reptile-safe disinfectant, and look over cords, domes and thermostats for wear.
- Yearly: replace T5 UVB tubes, and book a wellness check with your exotics vet.
Signs the setup is working
After a couple of weeks, a well-set-up leo will usually spend daylight hours in its warm hide, come out around dusk to explore and hunt, and use the humid hide before a shed. Its sheds should come off in one or a few pieces, including the toes and tail tip. Its weight should hold steady or rise slowly. If you’re seeing stuck shed, refused meals or a gecko camped on the cool side, go back to your temperatures first. Most problems start there.
FAQ
What do I need to set up a leopard gecko tank?
A 36″x18″x18″ or larger enclosure, overhead heat with a thermostat, low-level UVB, three hides, a safe substrate, thermometers, and feeders with calcium.
How long should I run the setup before adding my gecko?
At least 2-3 days so you can confirm stable temperatures.
Are leopard gecko starter kits worth it?
Usually not. Many include items that are too small or unsafe.
Can I use sand for a leopard gecko?
Many keepers use a soil and sand mix for adults. Avoid calcium sand and use paper towel for babies or quarantine.